There is some evidence that the fishing pole was used long before 2000 BC. in different areas of the world. The need arose when it came to fishing in deeper waters. It’s great technological evolution took place when the rod began to be used with a resistant line and hook. First, the line was tied to the rod, then rings were used to guide the lines. The longer the line, the easier it was to tire the fish. After this the reel was invented, to avoid entangling the line.
With the arrival of the Industrial Revolution and new technologies, the fishing rod was perfected, to the extent that we know today.
We can find rods made of synthetic materials, such as fiberglass, which allows better performance for sport fishing.
You already know a bit of history about the fishing pole, if you want to know how to assemble yours you are in the right place!

Fishing pole assembly
Before you start, you need to identify the parts of the fishing pole. A fishing pole can be a complex item, so learn the terminology before putting it together:
- If the rod has 2 or more parts, the joint that the parts fit into is known as the bushing. The male socket is inserted into a female socket.
- The handle is also known as the grip and is where the rod is held. The grip is the thick part of the shaft that is closest to the handle.
- The tip is the most flexible part of the shaft and sits on top of the shaft.
- The guides are the rings that are located along the rod that guides the line.
Preparing the fishing pole is something basic on fishing days. To be honest, it isn´t an easy task and it’s acquired with experience but don´t worry, this article is for your help.
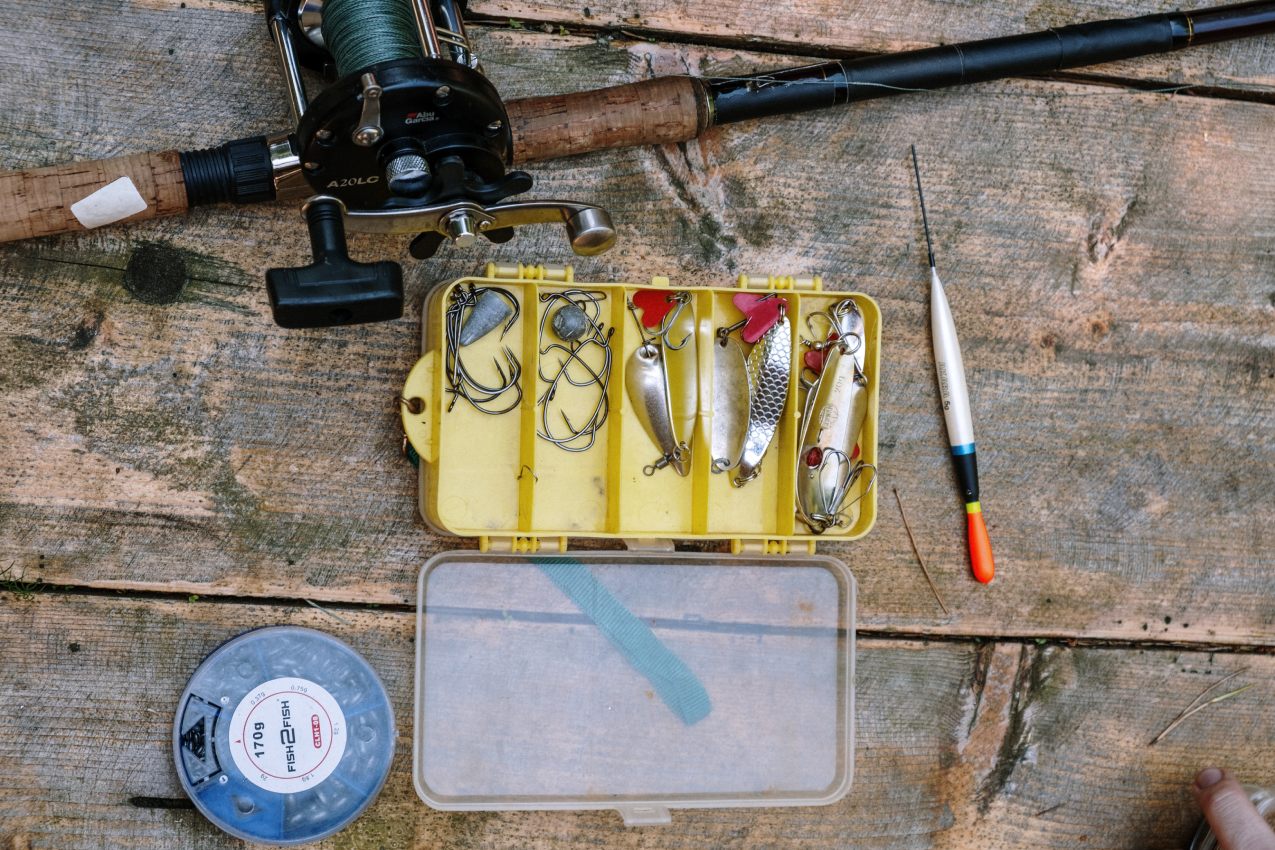
You have to clean the rod in advance. You should clean both pieces with a cloth to remove any dirt or debris that could scratch them. If necessary, you can use a cotton swab to clean the female cap. By keeping the rod clean, you will extend its lifetime. Dust can scratch and destroy the parts that hold the rod together. It is also important to choose the right color of the lure. You may have to choose a different lure depending on the sun and the number of clouds. On sunny days, try using a silver lure, as this color helps to reflect light and attract attention. In contrast, you should use a golden lure on cloudy days. This color has high reflective properties and helps to emit light on cloudy or stormy days.
Choosing a fishing pole
As in other areas, technology is advancing by leaps and bounds and now fishing is easier than ever. There are lighter and more effective materials that allow people of less size or strength to also be interested in fishing.
As you know, this world is infinite. Depending on the area or the type of fish that we are going to catch, we will need one or another type of ideal fishing material for discipline. You have to know what is the best telescopic rod for surf fishing, the best lure for spinning, and so on. Even that totally invisible fluorocarbon thread could go unnoticed even by the sharpest fish.
Steps to set up a Fishing Pole
We recommend that you familiarize yourself with the fishing pole and the operation of your reel. The more you know them, the easier it will be to use them. Here’s a step-by-step guide to familiarize yourself with the fishing pole:
STEP 1
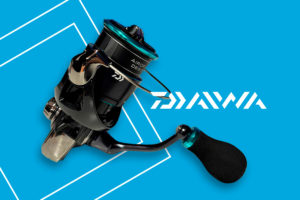
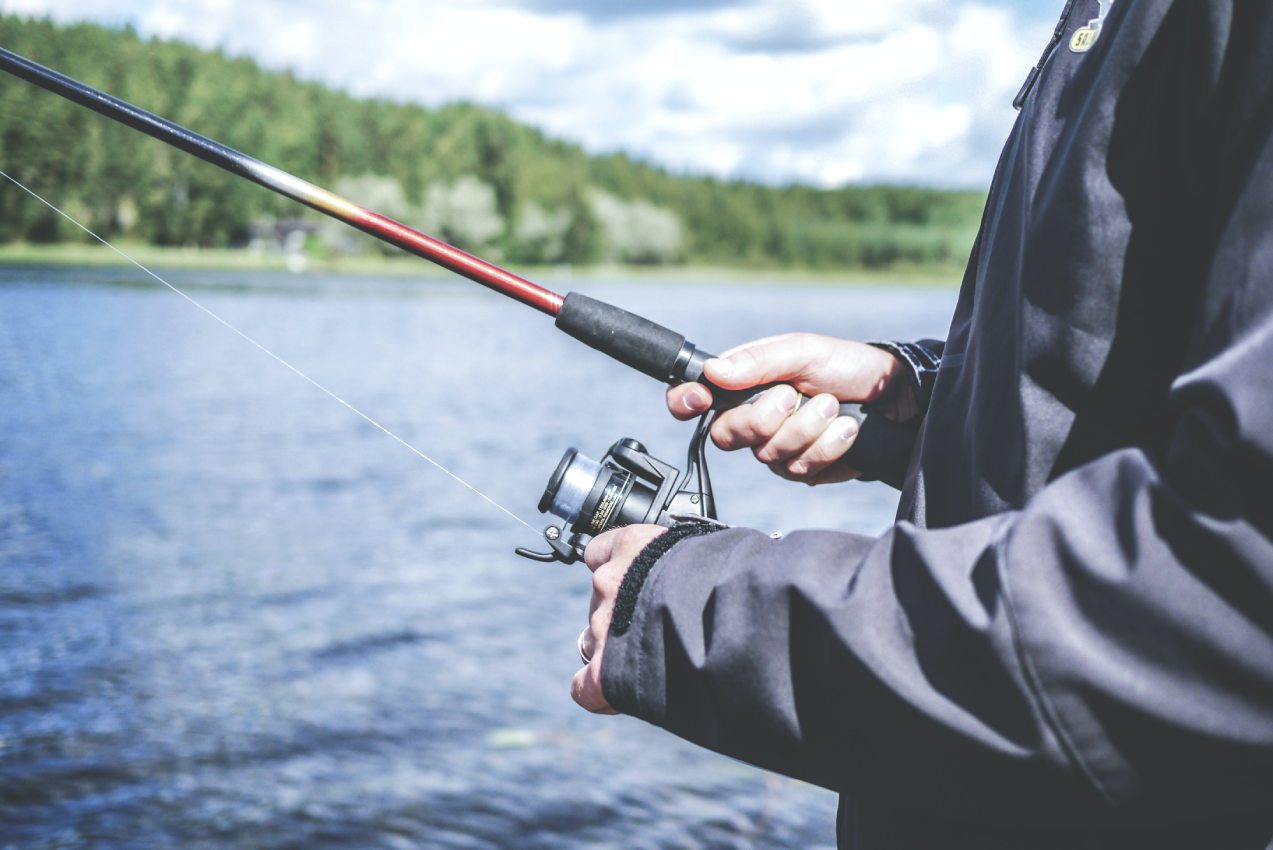
The first thing you are going to do is mount the reel on the fishing pole. You just have to fit the handle on the reel seat of the fishing pole. Then you must adjust the knob until it is firm, without tightening too much. Although this may seem like something simple and routine, the first few times you should spend a little more time having your fishing pole in perfect condition.
It’s possible that it is not you who should wind the thread if you have a spinning reel, so you can skip this step if it’s your case.
STEP 2
Now, if your reel is not loaded, we will go on to wind the line on the spool. First, pass the line through the lowest ring on the fishing pole, then tie a firm knot around the spool and tighten until it doesn’t move.
STEP 3
Pass the end of the line from the spool to the end of the fishing pole through each ring. Then, you must release the spool brake so that the thread is easily released.
STEP 4
If you are using a pole holder, first evaluate the fishing area and carry it where you think it will be most beneficial. If you are practicing, you can skip this step.
STEP 5
At this point, the fishermen join their tackle to the main line with a special knot for this. You can choose the one you like the most. However, you can also use a paper clip if you won´t cut the line over and over again. It’s also comfier.
If you want to know how to make a rig, you need to take into account the species you are going to fish and buy the appropriate material. You will need hooks, pearls, swivels, floats, and sinkers.
In this video you can see in practice everything mentioned step by step:
Once you have it mounted, you just have to put the bait on it and throw the rod to see what you can catch. Have you seen it? You already know how to mount a fishing pole.
Actually, the main objective is to choose a type of fishing that matches the behavior of the fish you are looking for. The ideal would be to know what each species of fish is coming from. There are fish that feed on the bottom and others only in shallow water. Some fish feed on other fish, while others prefer insects and there are even fish that eat almost anything in the deeper parts of the water
As you have seen, preparing the fishing pole is quite simple, and now that you have done it and practiced it, you will not feel lost on your first day. However, we invite you to visit WeFish to interact with other anglers and learn some very good tricks.


